Keeping Your Drum Kit in Top Shape: Maintenance Tips
- Regular cleaning maintains your drum kit's appearance and longevity.
- Replacing drum heads is essential for optimal sound quality.
- Proper storage can prevent damage during transport and non-use periods.
- Always check hardware for wear to ensure stability during play.
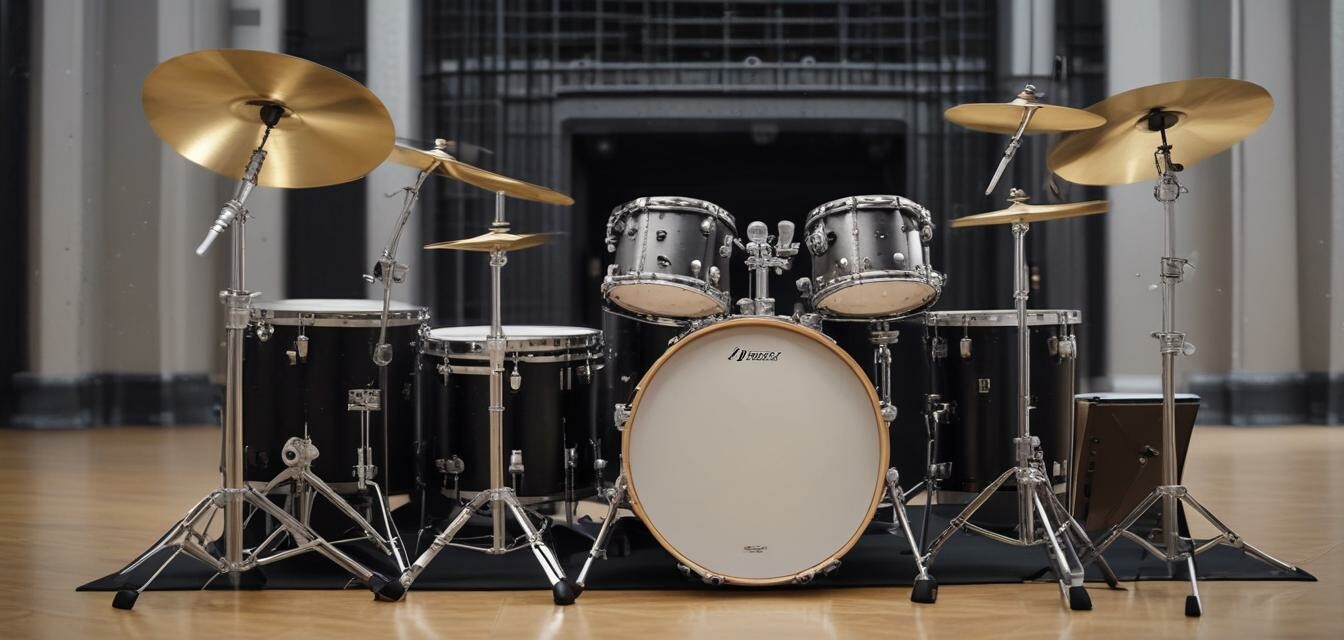
Drum kits form the backbone of many musical performances, serving as the driving force behind rhythm and melody. However, to keep your drum kit sounding great and looking sharp, regular maintenance is essential. This guide will walk you through the best practices for maintaining your drum kit, covering everything from cleaning to proper storage techniques. Whether you're a seasoned drummer or just starting out, these tips will help extend the life and performance of your beloved instruments.
1. Cleaning Your Drum Kit
Keeping your drum kit clean should be a top priority. Dust, dirt, and grime can severely affect the appearance and sound of your kit. Below are some effective cleaning tips.
- Regular Dusting: Use a soft, dry cloth to remove dust from your drums after each practice session to prevent buildup.
- Drum Shell Cleaning: For deeper cleaning, use a damp cloth and a mild cleaning solution designed for wood surfaces. Wipe down the outsides and allow to dry completely.
- Cleaning Hardware: Use a metal polish to keep your hardware shiny and free from tarnish. A soft cloth works best for this purpose.
- Disinfecting Drumheads: Use disinfectant wipes to clean your drumheads after practice or gigs to prevent bacteria buildup.
2. Drum Head Replacement
Drum heads are essential for the sound quality of your kit. Over time, they wear down and can affect your sound. Here’s how to know when it’s time to replace them:
- Listen for a change in sound. If your drum sounds 'dead' or less resonant, it's time for a new head.
- Look for visible damage or dents on the drumhead surface.
- If your drum head feels uneven when you tap it, replacing it will ensure better sound quality.
Drum Head Replacement Steps
- Loosen the tension rods evenly around the drumhead.
- Remove the old drumhead and clean the bearing edge thoroughly.
- Place the new drumhead on the shell, ensuring it is positioned evenly.
- Reinstall the tension rods and tighten them gradually in a crisscross pattern.
- Tune the drum to your desired pitch.
3. Proper Storage Techniques
How you store your drum kit can vastly affect its longevity. Here are some storage tips:
- Use a Hard Case: Store your drums in a hard case to prevent physical damage.
- Humidity Control: Keep your drum kit in a climate-controlled environment to protect from moisture that can warp wooden shells.
- Elevation: Keep your drums elevated off the ground to avoid damage from spills or pests.
- Covers: Use drum covers to protect against dust, scratches, and accidental bumps.
4. Checking Hardware
Regularly inspect the hardware of your drum kit. Look for signs of wear and tear, as these can affect the stability of your setup:
| Component | What to Check | Recommended Action |
|---|---|---|
| Tension Rods | Check for rust or bending | Replace if damaged |
| Drum Pedals | Inspect for squeaking or play | Lubricate or replace parts if necessary |
| Mounting Hardware | Look for looseness or play | Tighten or replace as needed |
| Floor Tom Legs | Check stability | Replace if they wobble |
5. Accessories for Increased Longevity
Utilizing the right accessories can improve your experience and help maintain your drum kit more effectively. Consider the following products:
 Unique Rhythm Tool
2 Pieces Colorful Fish Shaped Guiro Instrument
These beautifully crafted wooden instruments are perfect for practice and performance. They inspire rhythm and enhance learning.
Learn MoreIncorporating high-quality accessories can enhance your drumming experience. Check out more options in our Instrument Accessories section to find tools that elevate your performance.
Tips for Beginners
- Start with one drum and master it before expanding your kit.
- Practice regularly to strengthen your technique and familiarity with your equipment.
- Always have a maintenance kit with cleaning cloths and tools.
- Follow the manufacturer's guidelines for maintenance and care.
- Join drum clubs or forums to share tips and learn from others.
Conclusion
Regular maintenance of your drum kit is crucial for ensuring it performs at its best. By following these essential cleaning, replacement, storage, and inspection tips, you can extend the life of your instruments and enhance your overall playing experience. Make sure to incorporate these practices into your routine, and enjoy the rich sounds your drum kit produces!
For more information on instrument care, visit our detailed resources on Percussion Instruments.